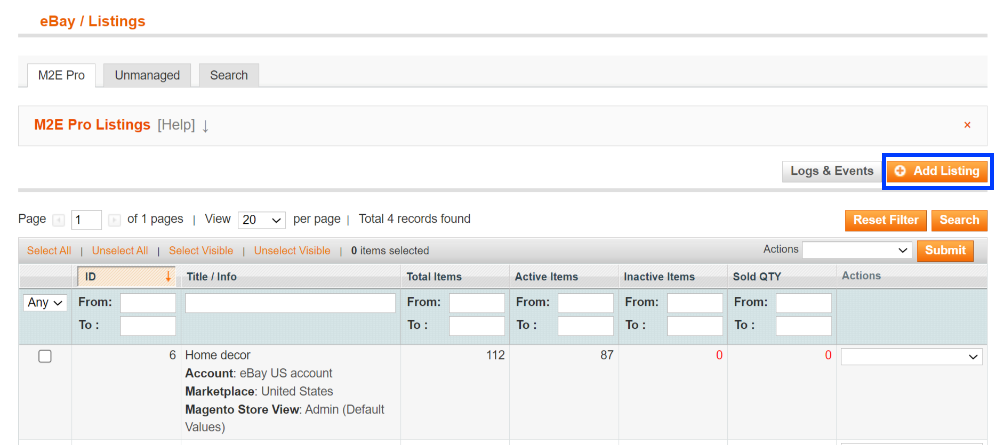
To create an M2E Pro Listing, go to eBay > Listings and click Add Listing.
Step 1: General Settings #
💡 Check out this video on how to configure General Settings for your M2E Pro Listing.
General #
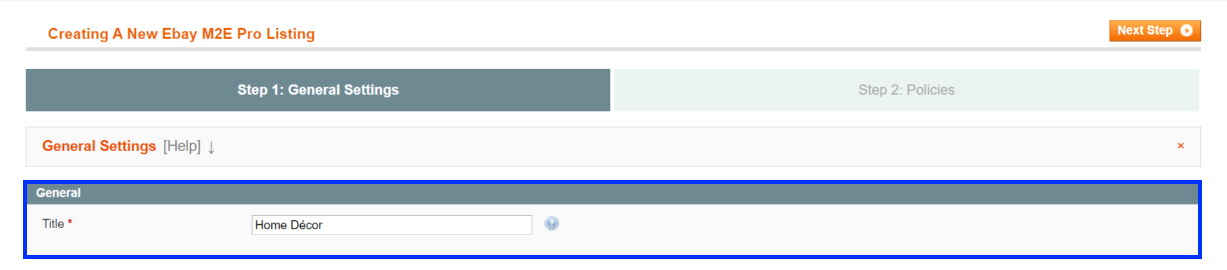
Title
Choose a descriptive and meaningful title for your M2E Pro Listing.
ℹ️ This title will be used only for your convenience in M2E Pro and won’t appear in your eBay Listings.
eBay Settings #

Account
Choose the Account you’re going to use for this M2E Pro Listing.
If the eBay User ID you want to use is not listed as an option, click Add Another.
ℹ️ For more details, see our guide on adding an eBay account.
Marketplace
Select eBay Marketplace where you want to sell your Listing Products. Currency is set automatically based on the site you choose here. For example, Euros for Germany or US dollars for the United States.
Magento Settings #

Magento Store View
Choose the Magento Store View for your M2E Pro Listing. It determines which Magento Products can be added to this Listing and which product information will be submitted to the Channel.
ℹ️ For more information about Magento Store Views, read Magento documentation.
Step 2: Policies #
In the second step, you need to specify policies for the M2E Pro Listings.
ℹ️ Policy is a combination of settings that can be used in different M2E Pro Listings.
You can set the shipping methods you offer and whether you accept returns. For that, select Shipping and Return policies for the Listing.
Also, you can choose the right listing format, provide a competitive price for your Items, set the detailed description for products to attract more buyers. For that, select Selling and Description policies for the Listing.
You can set the preferences on how to synchronize your Items with Magento Catalog data. The rules can be defined in Synchronization policy.
After you set all the policies, click Save.
All saved policies can be edited later in the Configuration section.


